Monster Math Buddie

I remember when I was in grade school, we made these really neat milk carton math buddies. I couldn't wait for Math time so that we could "paly" with these guys. I thought it would be a neat post for those who have kids that are just learning basic math. This makes learning fun and interactive! (If you are not sure how this little guys works, that is explained at the end of this post.)

Gather all your material:
- 2-quart milk or juice carton
- scissors/craft knife
- ruler
- pen
- 3 by 7 inch piece of thick cardstock or posterboard
- glue
- tape
- craft material for decorating your buddie
- flash cards/cardstock cut to 3x2 inches
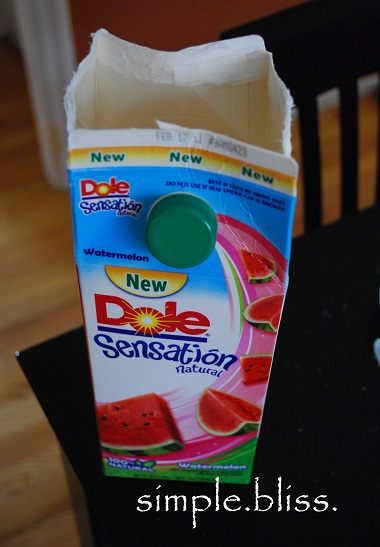
Take your carton, open it from the top. Make sure to thoroughly wash and dry it out.

If your carton has a spout, cut it out. Also cut slits down the corners. this will be the bottom, and we will fold the flaps closed later.
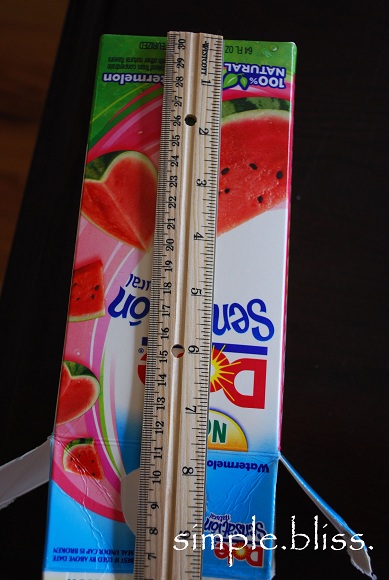
Use your ruler and pen to draw a horizontal line 2 inches from the top of your carton, and then another horizontal line about 1mm under your first line. Do this to the bottom too - draw another line two inches from the bottom, and 1mm on top of that line, draw another horizontal line. I had a little over 2.5 inches in between the inner lines.

Here is what mine looked like after making my lines.

Use your scissors/knife to cut your slits out.

The next step is to insert the ramp inside the carton. You will add some hot glue or glue to the top corner of the slitted slide. Just turn your carton over, add your glue and firmly push one end of your 3x7 piece of poster board into the glue. Allow your glue to dry.

Turn the carton so the slits are facing up, and slide the loose end of the poster board through the bottom slit. Fold the end a little, and glue/tape this down to the bottom edge of your slit. I used hot glue, then tape over that.

This is what it should look like once you glue or tape the flap down.

Here is a shot of the inside after you have your ramp in place. It should be arched like this.

Now go ahead and tape your open flaps closed.

Now is the fun part. It is time to decorate your buddie. I went ahead and wrapped the carton, leaving the front as is. I wrapped it as I would a present. And taped it in place.

I went on to measure my carton and cut out pieces to go in certain places.

Once you measure and cut your pieces, hot glue them to the carton. I used hot glue when I was attaching anything to the carton, and Elmers glue when attaching to the construction paper.Just make sure that when you are decorating you do not cover the slits up, not even a little.

Here is our little monster. Although you don't have to make a monster, you can always make it into a fairy, animal, person... anything your kid wants!
Next you will need to make your math cards. I made simple addition ones, but you can make subtraction, multiplication or division.
Take your flash cards, or cardstock and cut them to 2x3 inch pieces. On one side, you will have your problem (2+2) and on the other side, upside down, you will have the answer (4.)
*NOTE: one of them, problem or answer must be upside down for this to work. Here is an example:

I made this as an example, and wrote it on plain paper so that the ink would show through. As you can see, I have 2+2 on the front, and you can see that on the back, I have 4 written, and it is upside down.

Here is the back side. The 4 is right side up, and the 2+2 upside down. I hope you get it! :)

So this is how it works!

You insert your card into the top slit, answer facing you. Your child must not be able to see the back of the card. Once you or your child "feeds" the buddie the problem (2+2)...

...it will spit it out showing your answer (4)!!
And that is it! You can make as many of these as you want for each one of your kids. They are fun (from what I remember) to learn with!


<3 your blog!
ReplyDeleteNewest follower!
Stopping by from:
http://madeofsnails.blogspot.com/
&
http://staceylovesscents.blogspot.com/
That is so cute! I love new ideas for crafts. I hope you are doing well! Have a good night!
ReplyDeleteMama Hen